Nov 15, 2019
Back to all Elements
As before, this element need 2 steps:
1. Add the next script tot the relevant page, where your tabs are.
<script>
var Webflow = Webflow || [];
Webflow.push(function() {
var tabTimeout;
clearTimeout(tabTimeout);
tabLoop();
function tabLoop() {
tabTimeout = setTimeout(function() {
var $next = $('.tabs-menu').children('.w--current:first').next();
if ($next.length) {
$next.click();
} else {
$('.tab-link:first').click();
}
}, 3000);
}
$('.tab-link').click(function() {
clearTimeout(tabTimeout);
tabLoop();
});
});
</script>
2. Adjust classnames to match. You can change the classnames in the script or the classnames of the elements in your page:
* You can change the timing between each tab, now set to 3000ms (3 sec.) by changing the number 3000 to any other milliseconds number.
** The last part of this script is a function that resets the "timer" when a 'tab-link' is clicked.


A tongue scraper is is so much better in cleaning your tongue instead of the normal brushing it.


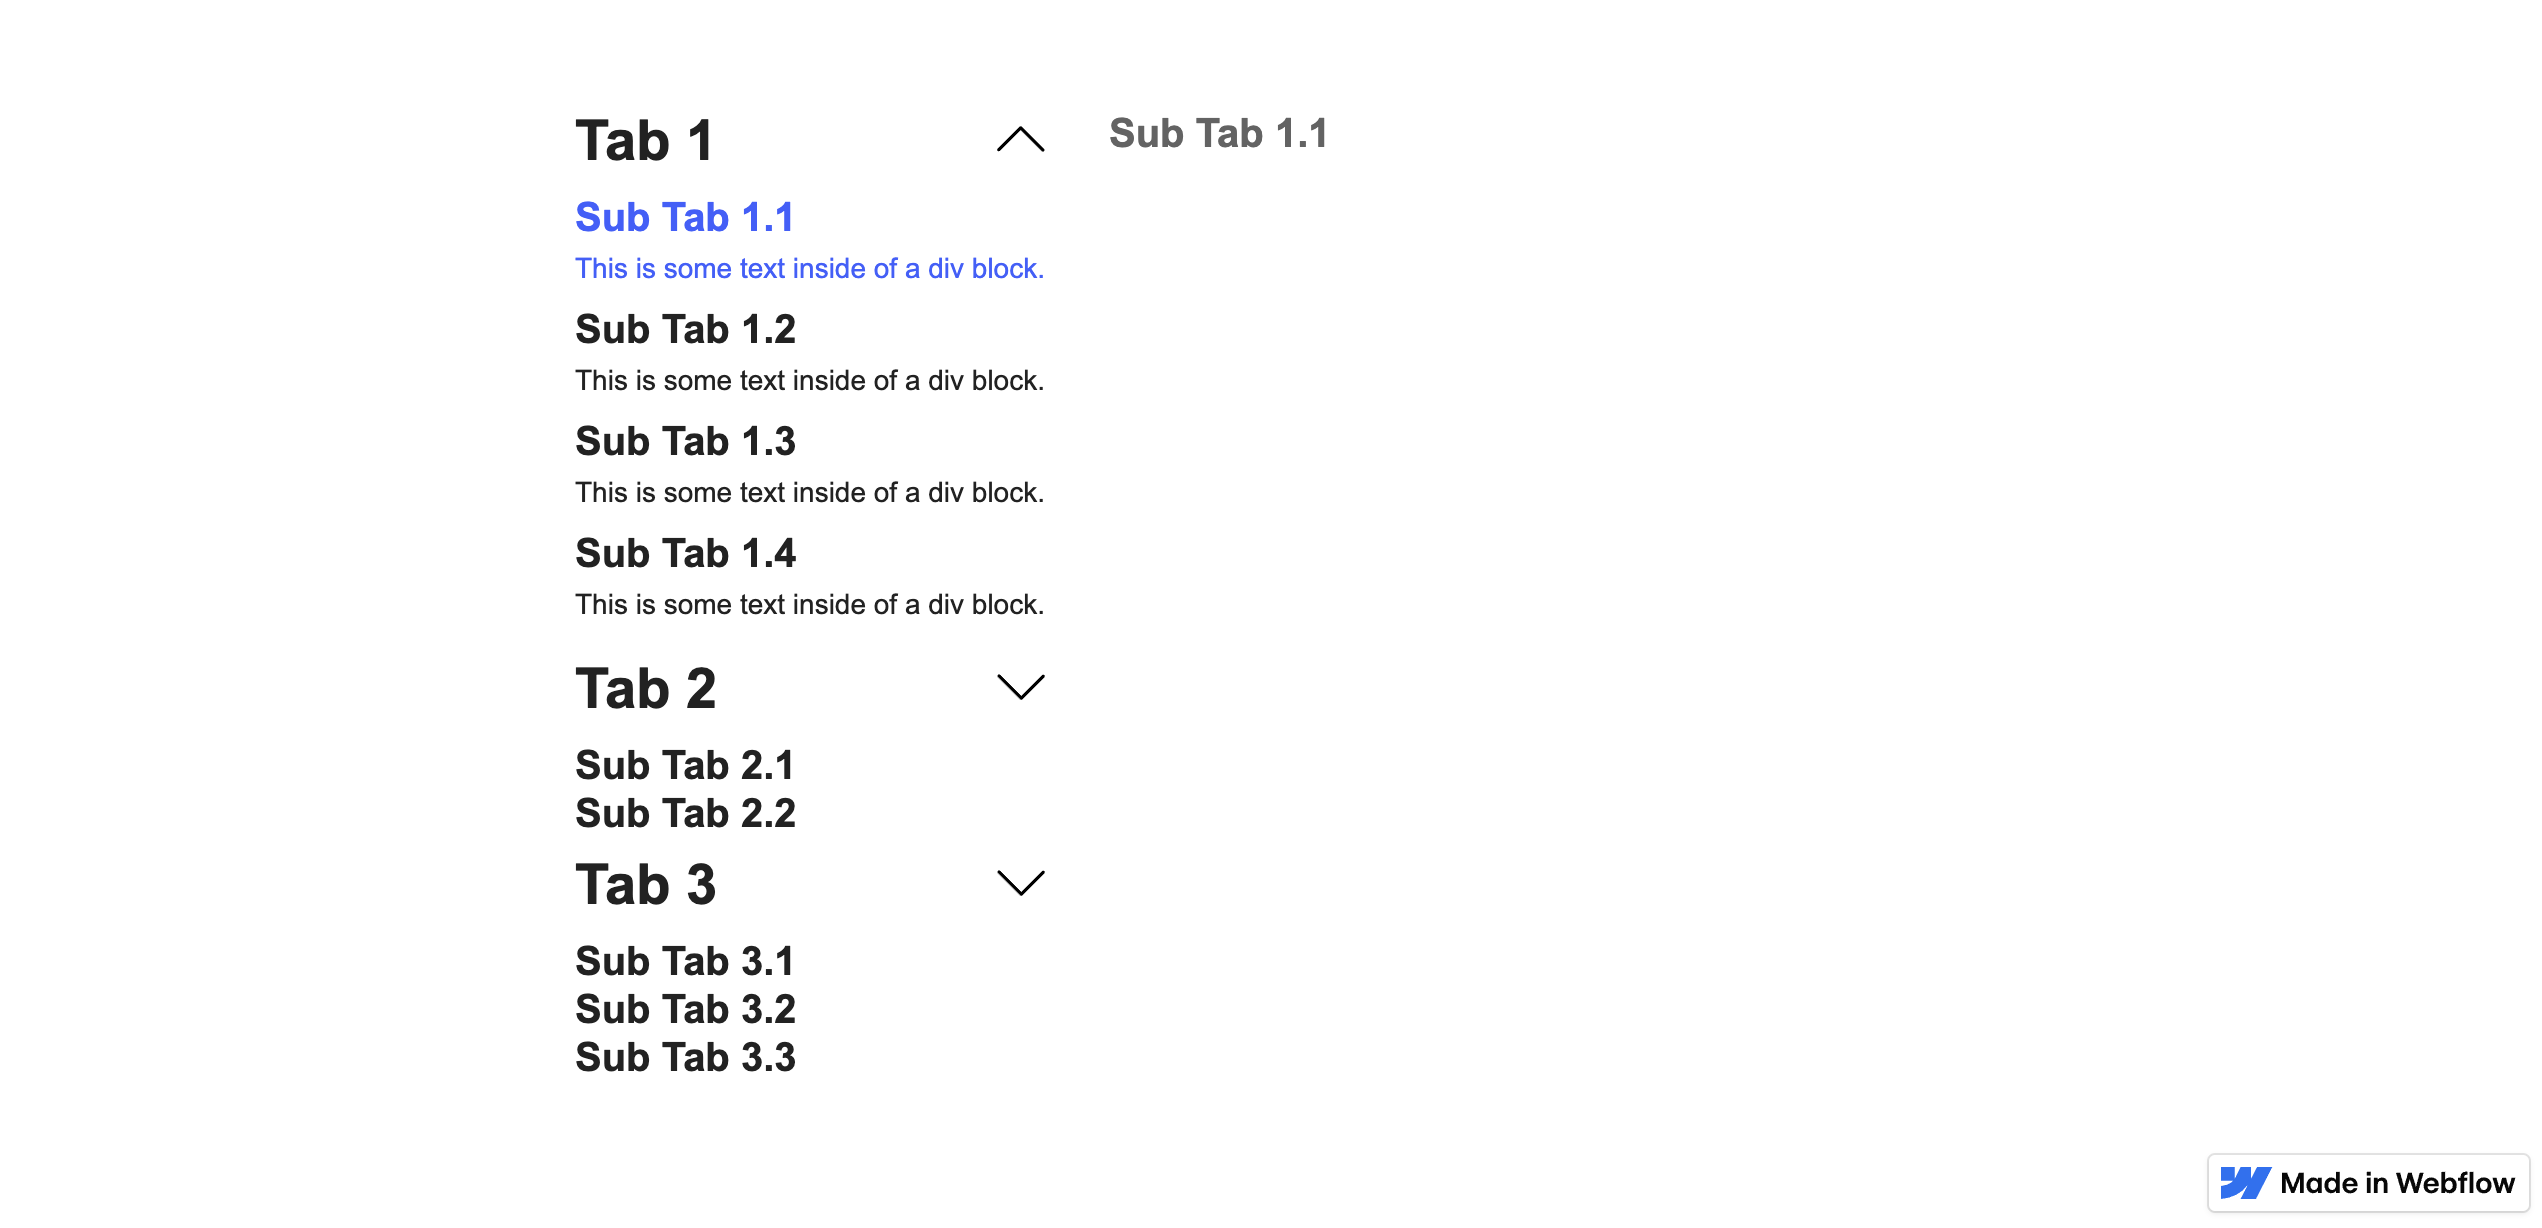
Nested tabs in an accordion template


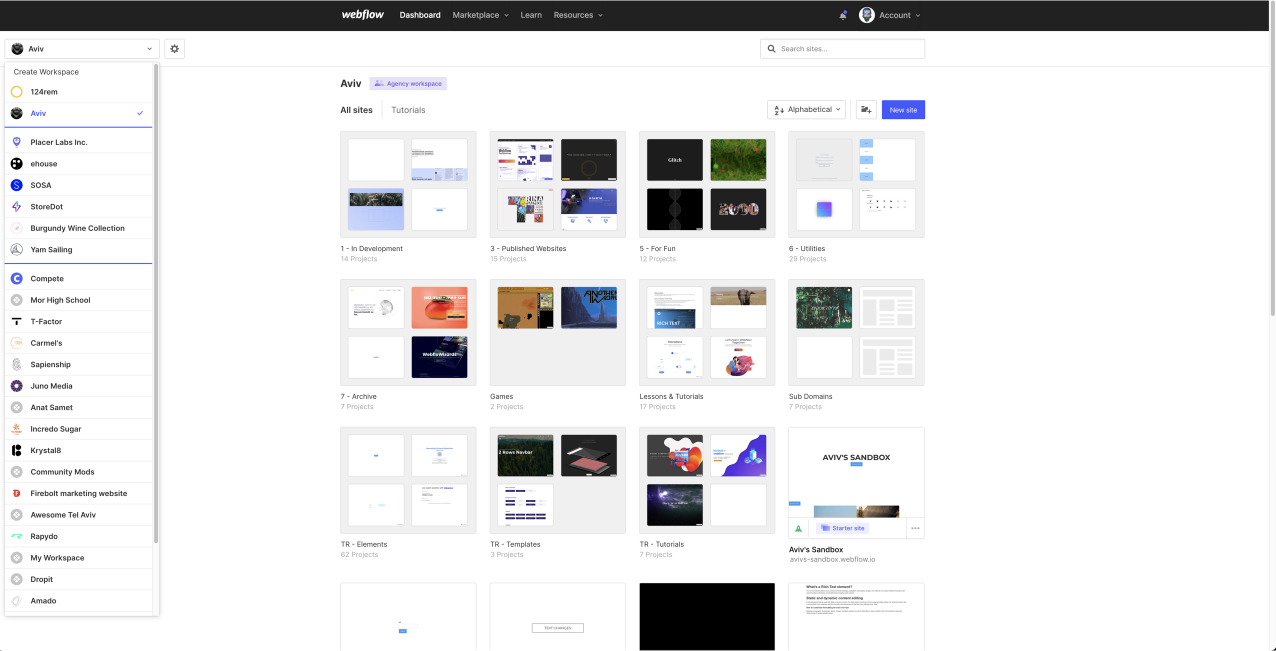
Convert the Workspaces dropdown to an open sidebar with custom order.

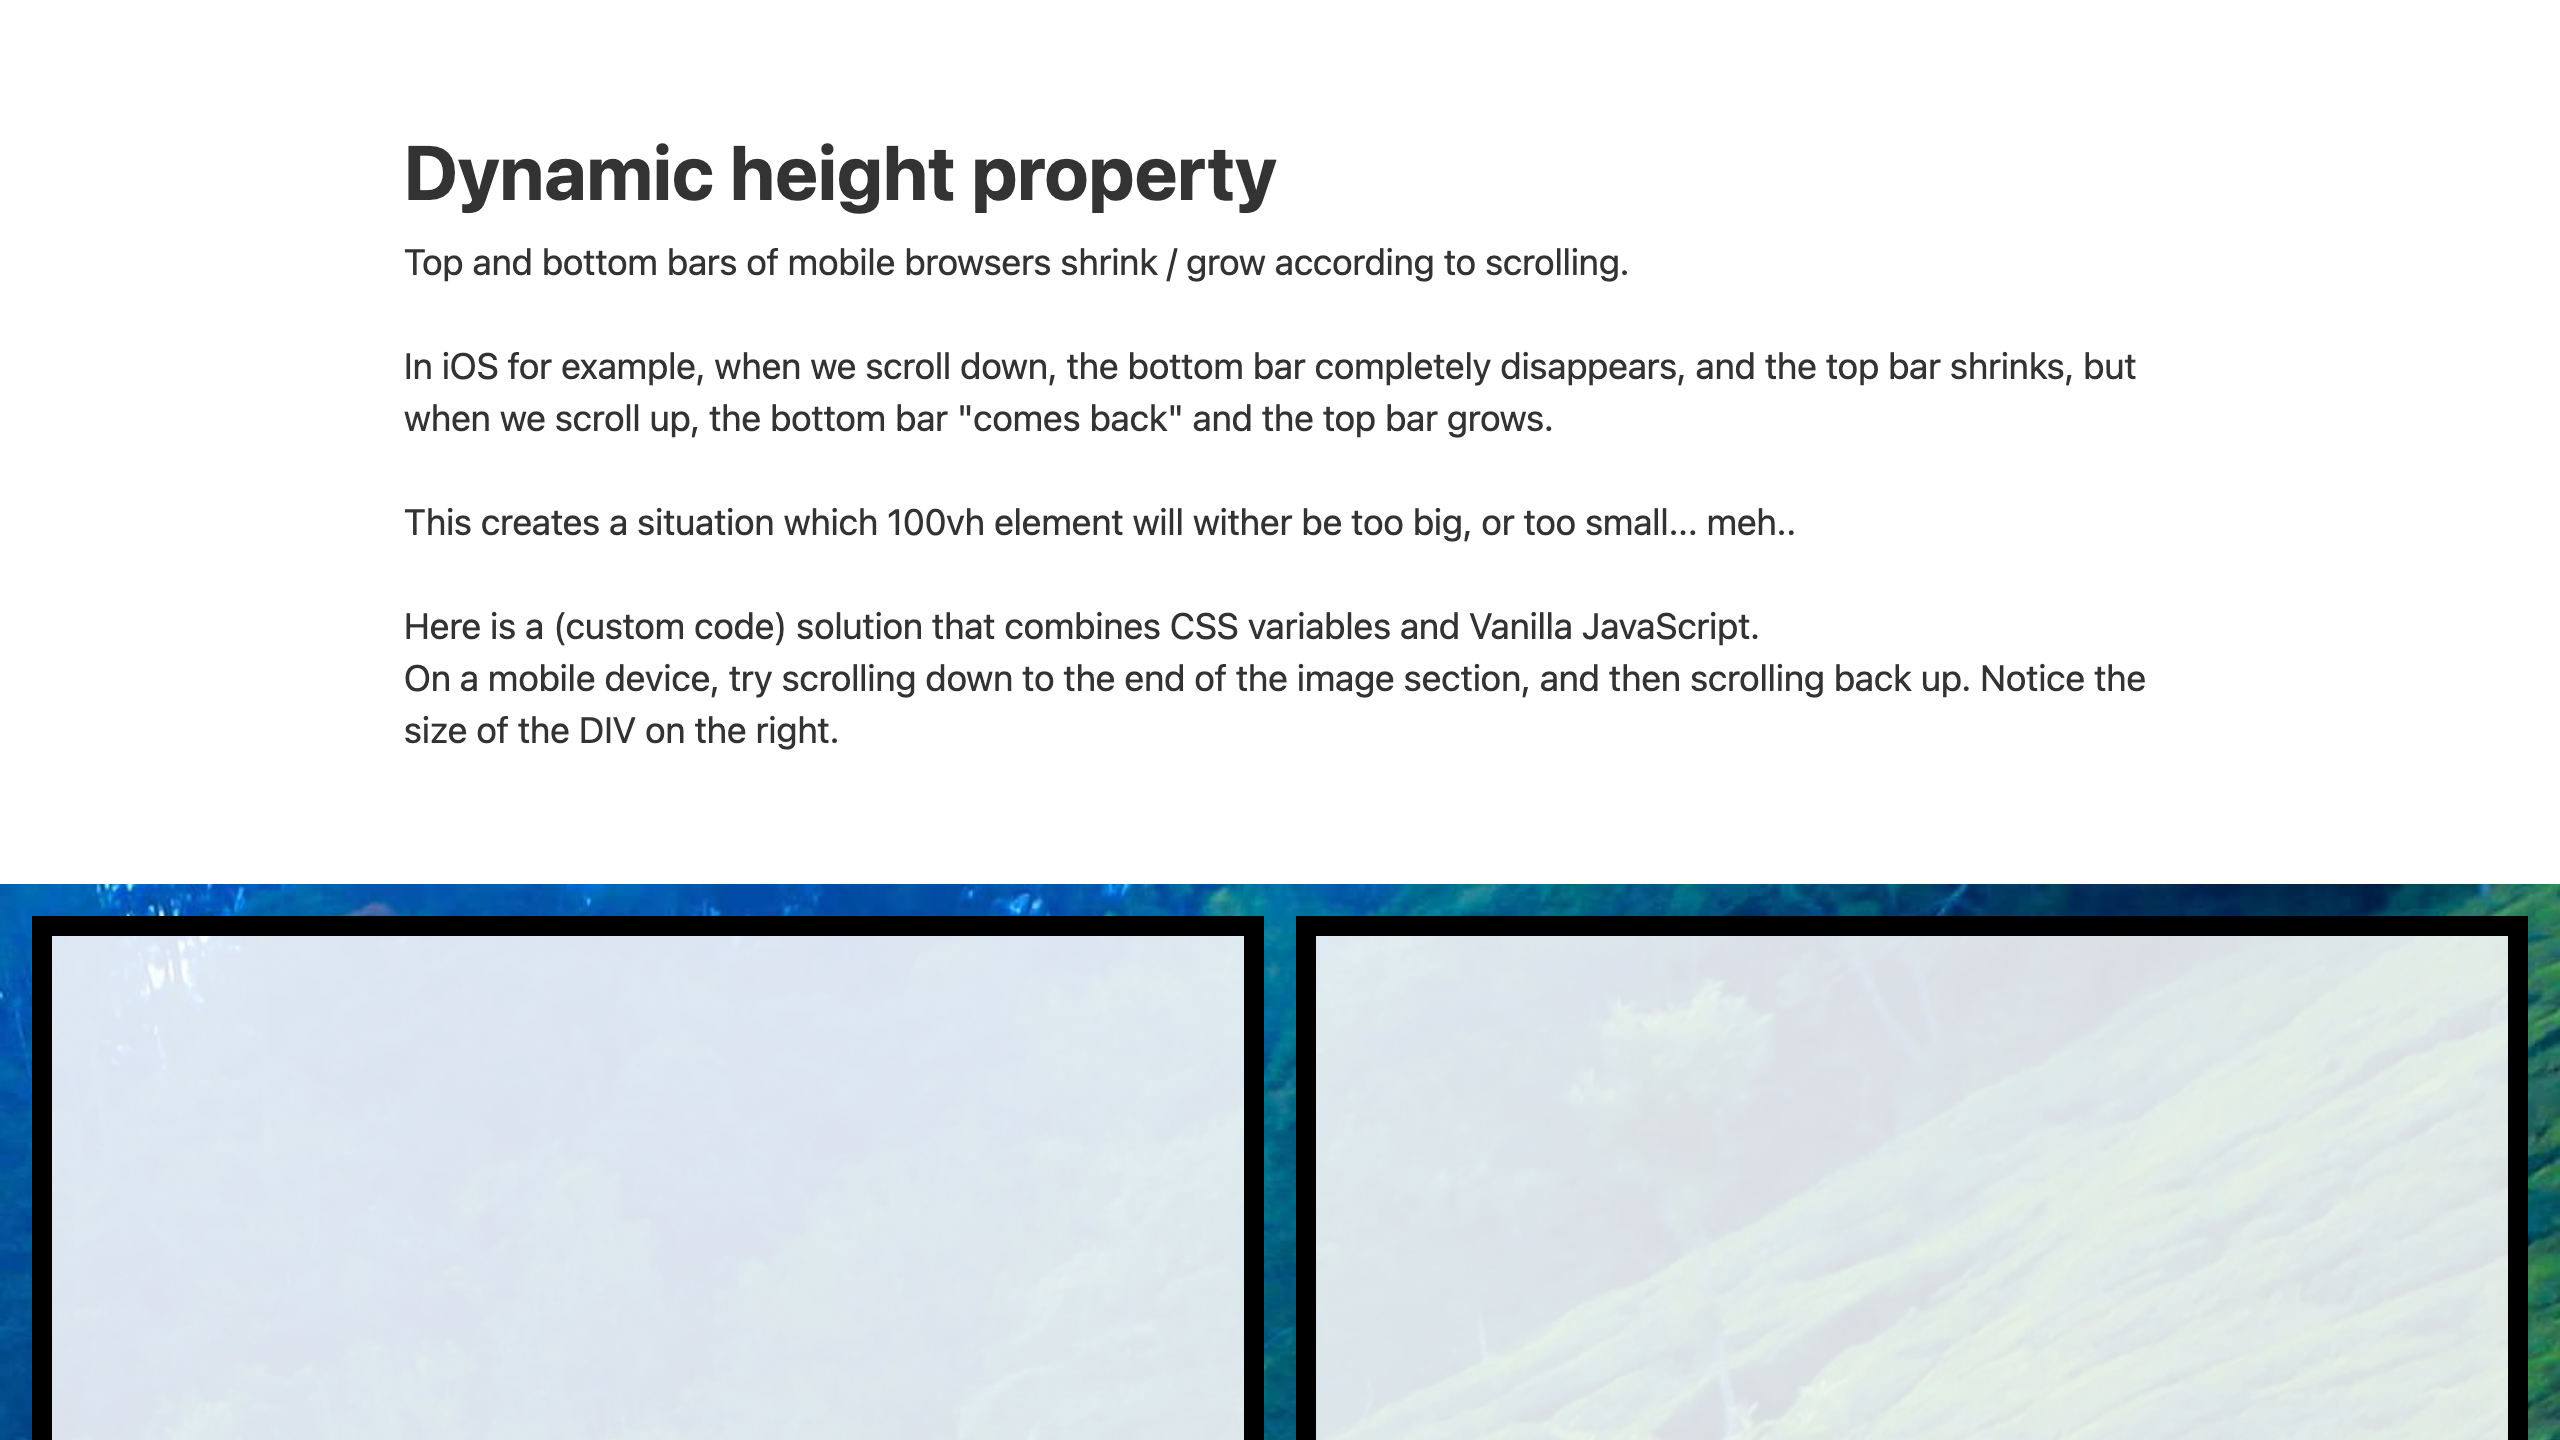
A (custom code) solution that combines CSS variables and Vanilla JavaScript for the shrinking / growing of browser top & bottom bars.